Documentation for Windows
#Managing Node.js versions
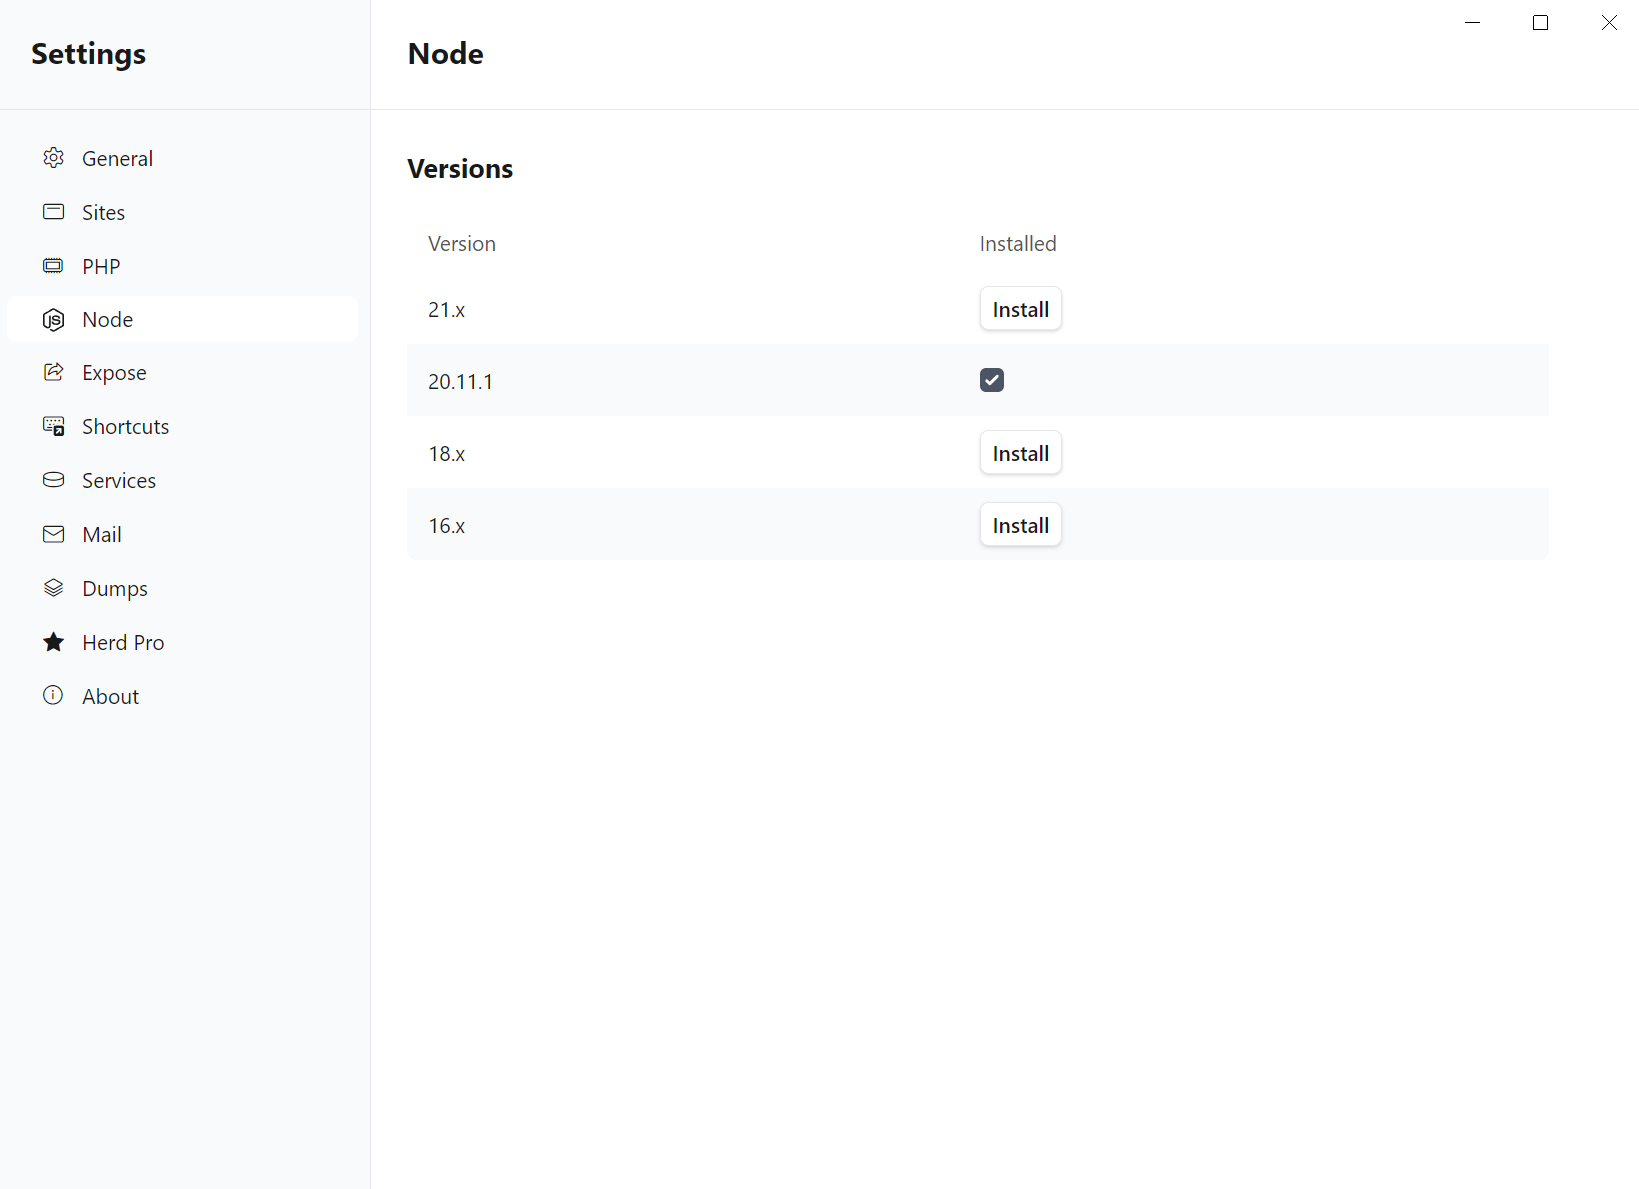
Herd ships with nvm, the Node version manager, and allows the management of multiple Node.js versions on your machine. By default, Herd automatically installs the latest available version of Node.js for you.
[!NOTE]
If you are already using nvm on your machine, Herd won't display your Node.js versions in the settings because it relies on a specific nvm version. You can uninstall your existing nvm install if you want to manage Node versions via Herd.
#Via the GUI
You may install and update the Node.js versions on your machine via the Herd GUI. Simply click on the button and Herd will take care of the rest.

#Via the CLI
You can use nvm on your command line to install, update and switch between Node.js versions any time. To switch to a different version, simply enter nvm use VERSION and nvm runs all required commands to change the version and make it accessible in your terminal.
For more information about nvm, take a look at the official nvm documentation.
Commands that you might use regularly
# Install node 20nvm install 20 # Uninstall node 20nvm uninstall 20 # Switch to node 20nvm use 20 ## Display all commandsnvm help#Uninstall
If you want to uninstall your previous non-Herd nvm, you have to make sure to remove the related environment variables NVM_HOME and NVM_SYMLINK. This also applies if you remove nvm that ships with Herd.
After restarting Herd, the nvm configuration in the settings displays the button to install the nvm version that ships with Herd and that manages local Node.js versions via the GUI.
#Troubleshooting
Herd parses command output to determine your current Node.js version. If it can't parse the output because there is output that it doesn't understand, or you are using an unsupported shell, it displays Unknown for your node version in the sites list.